The Change Up Gear Review
Shed hunting continues to increase in popularity across the country. This increase in popularity in collecting shed antlers has sparked creative ways to display your favorite sheds. Outdoorsmen and women spend hours scouring the woods each winter, walking miles for piles, but what do you do when shed season is over and it’s time to display those sheds?
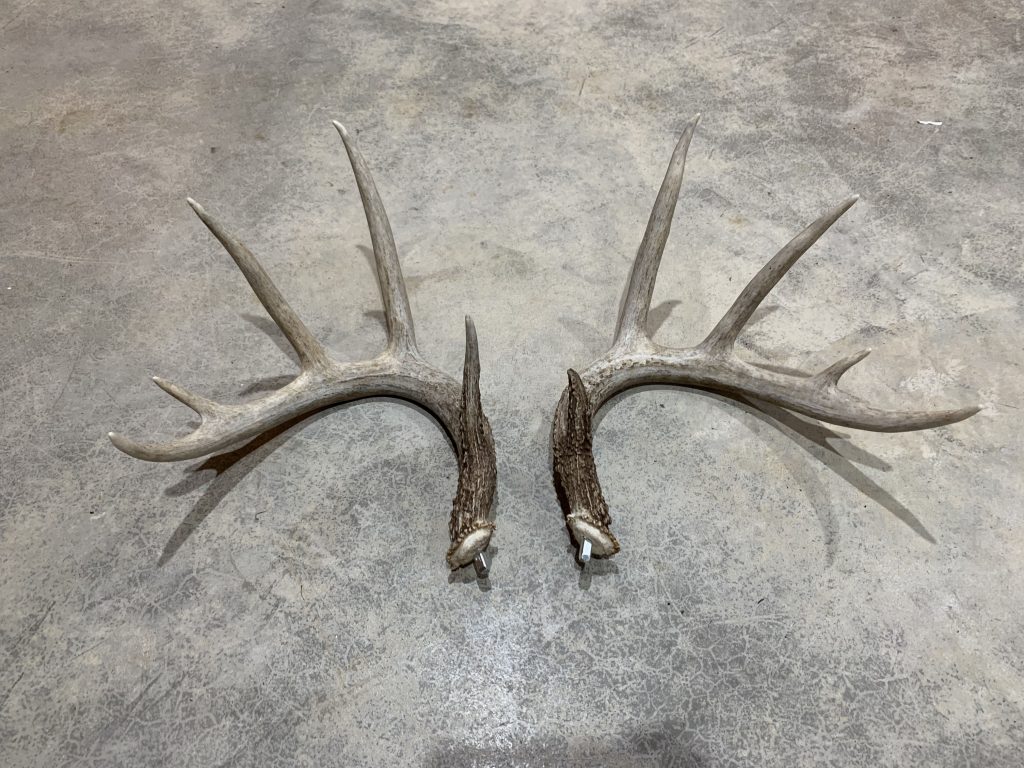
Big 8 Productions has solved that problem with the invention of The Change Up! The Change Up is the perfect way to display your favorite set of shed antlers. The Change Up only works with a set of shed antlers, meaning you’ll need both the right side and the left side to make it look more natural. You can also utilize it to display “dead heads” by cutting off the antlers at the base. This is great for skull-capped racks that are broken or the hide wasn’t removed and it was allowed to dry in place.

Big8 Products “The Change Up”
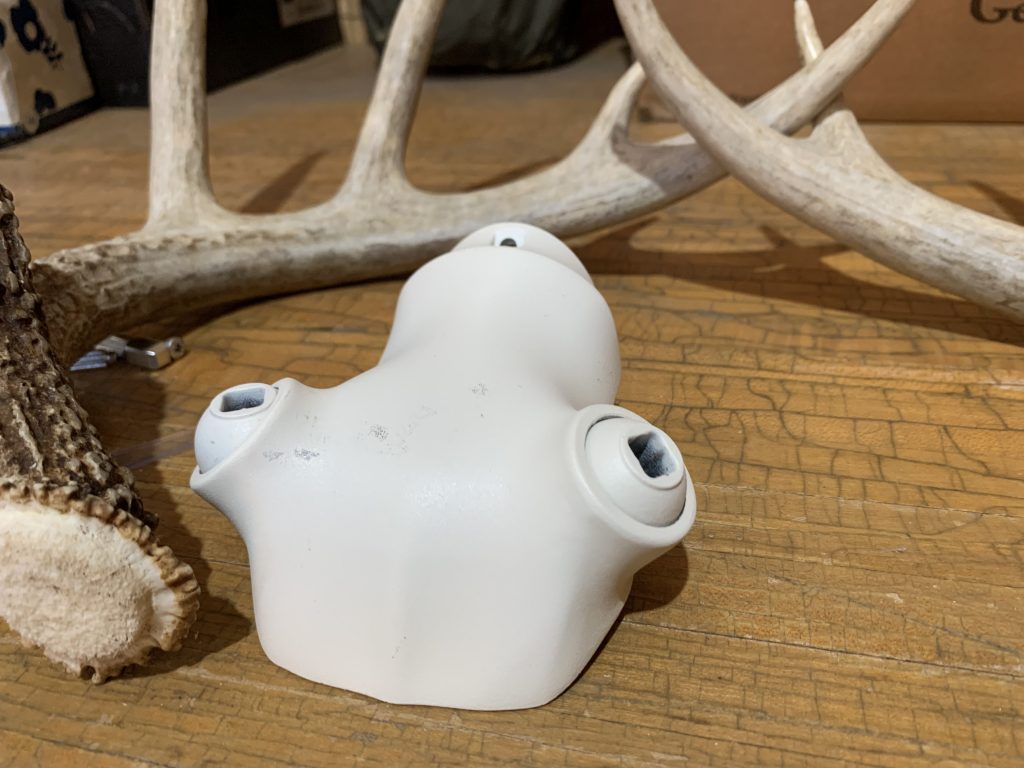
“The Change Up” from Big8 Products is DIY antler mounting kit that allows you to display both shed antlers and ‘cut-off’ antlers with ease. All you need is a drill and hammer and you can display your shed antlers or cut-offs with pride. You can even change the width of the angle of the rack after installation.
Retail: $39.99
■ Display matched sets of antlers
■ Shed antlers and cut-offs too!
■ Customizable and reusable!
■ All mounting hardware included
Installation of the Antler Peg in The Change Up
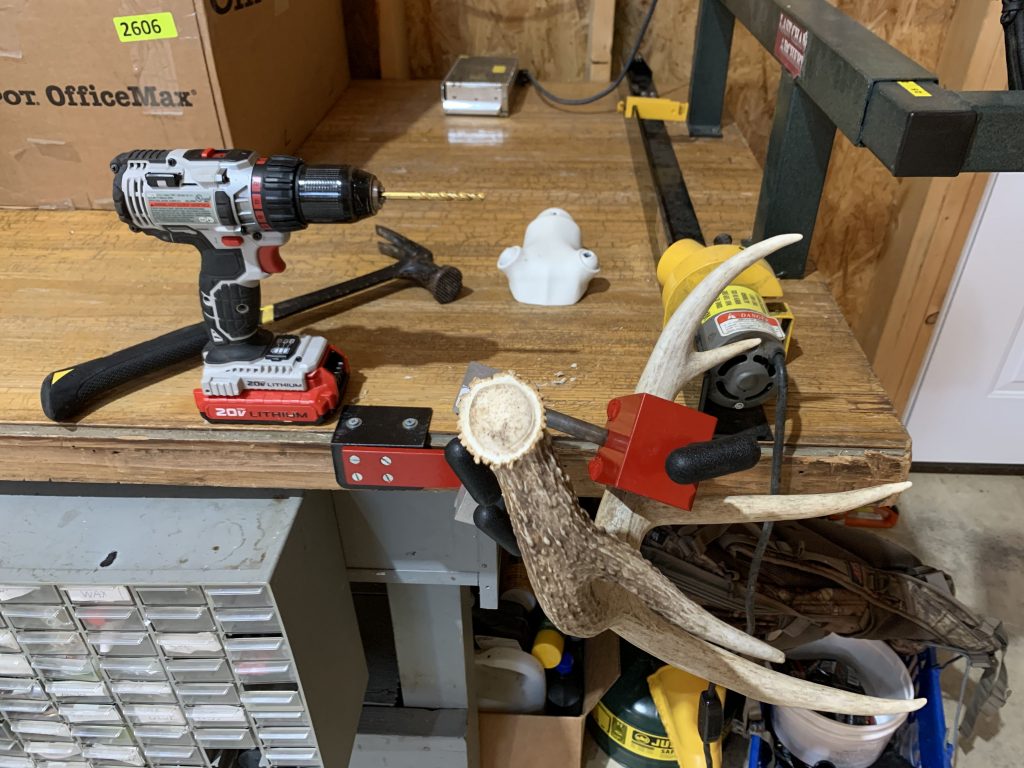
Installing the antlers pegs into the base of each antler was quick and easy. You’ll need the following items to get started:
- Drill
- 1/4″ drill bit
- Hammer
- Flathead screwdriver
- Phillips screwdriver
- 3/32″ Allen wrench
- Vise or clamp
- Soft Cloth
- Safety glasses
- 1/2″ socket (optional)
Installation Procedures
Step 1:
Secure the antler with the pedicle (base) facing perpendicular to the ground. Big8 Products recommends wrapping the antler in cloth before placing it in the vase or clamp to avoid damaging the antler.
Step 2:
Mark the 1/4″ drill bit at 1″ using a permanent marker. You don’t want to drill too deep!
Step 3:
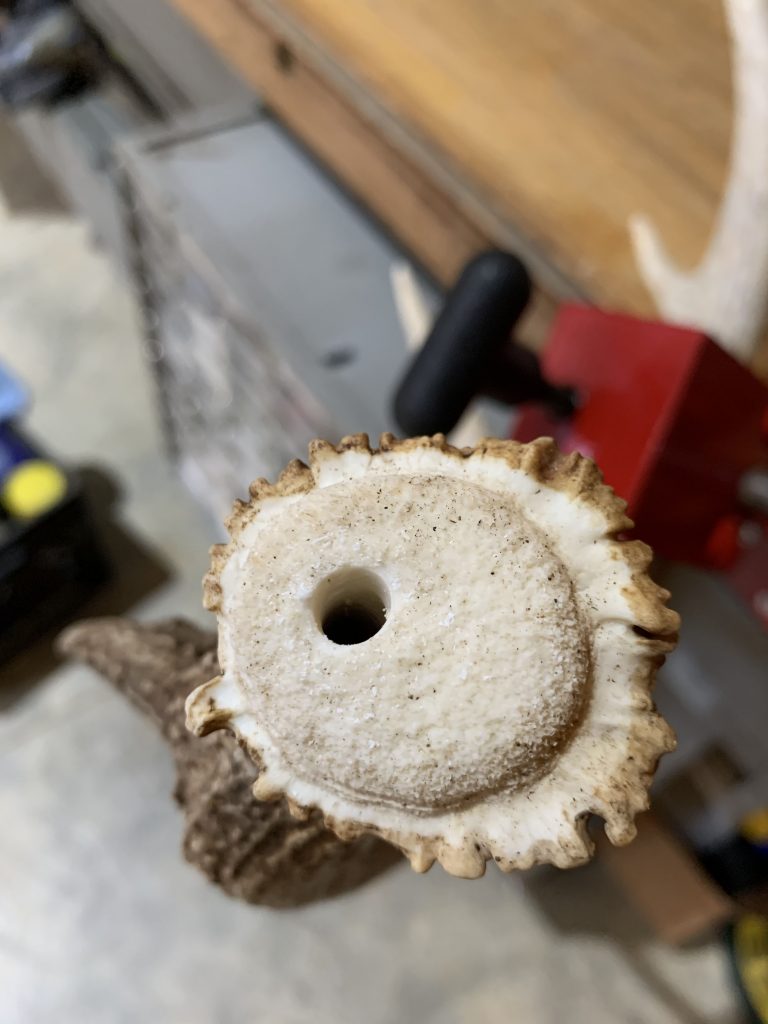
Utilize a 1/4″ drill bit to drill a one-inch hole into the center of the pedicle (base of antler). This is the most important part, so measure twice and cut once. Be sure that you’re drilling in the center of the antler and the hole doesn’t extrude from the beam, damaging the antler.
Step 4:
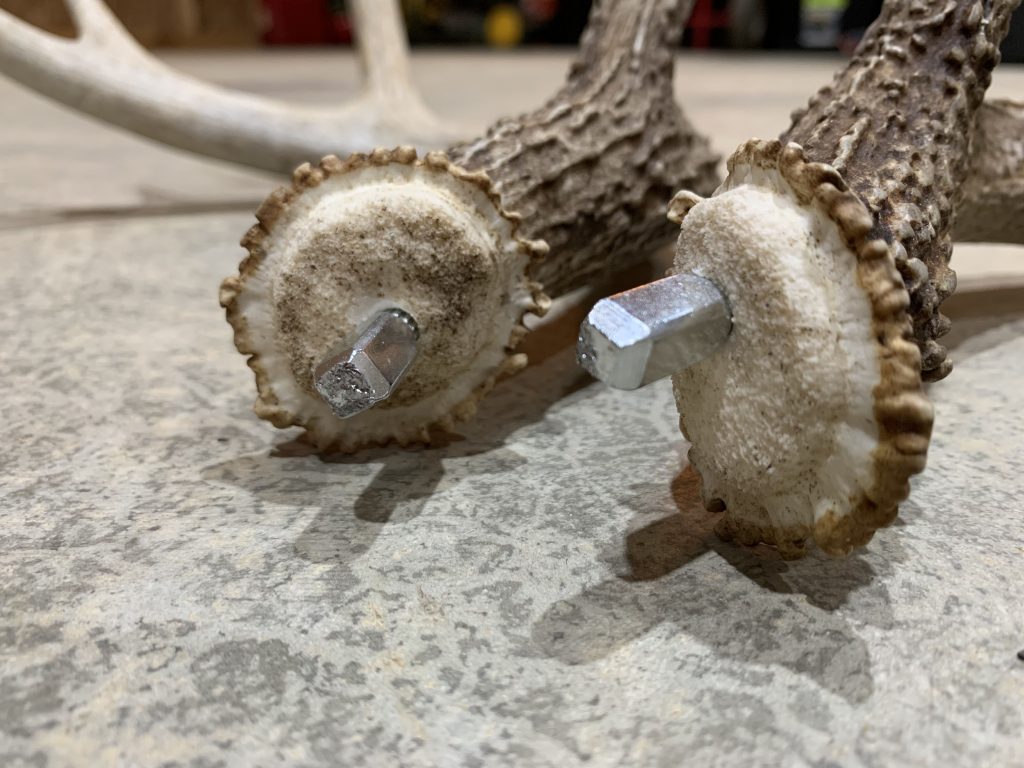
Install the antler peg with a hammer by gently tapping it into the 1/4″ hole that you drilled into the base of the antler. The antler peg should bottom out if you drilled a 1″ hole.
Step 5:
Install the mounting bracket (replica skull plate) to the wall, ensuring that it’s firmly anchored into a suitable structure such as a stud. There are two screws provided. You can also install this product on a flat surface such as a table.
Step 6:
Insert the antlers into the mounting bracket. The antler peg that you installed in Step 4 will create a ball and socket fit into the mounting bracket (skull cap).
Step 7:
Use a 1/2″ socket or flathead screwdriver to adjust the tension in the ball socket from below. You can customize the look and fit by positioning the antlers as you see fit.
Step 8:
For additional security, use a 3/32″ Allen wrench to tighten the screw set hidden within the lower ball joint base. You can losoen them at any time to re-adjust the antler positions. This may be necessary if you swap out the antlers but you’ll need to purchase additional antler pegs.
Adjusting and Displaying The Change Up
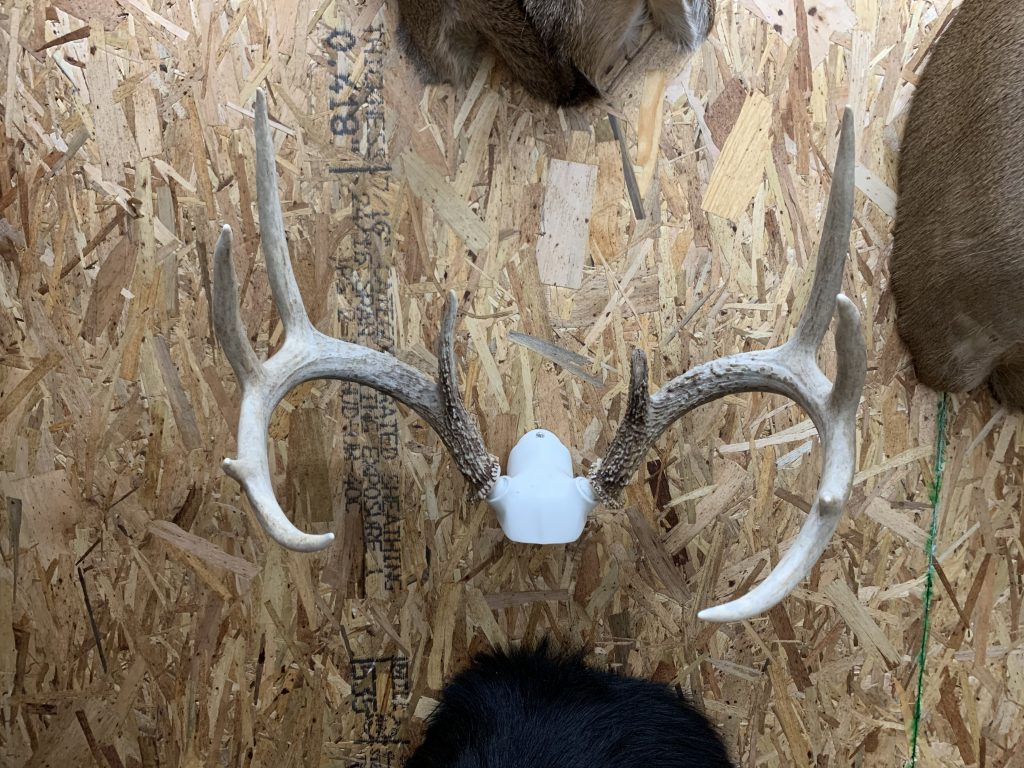
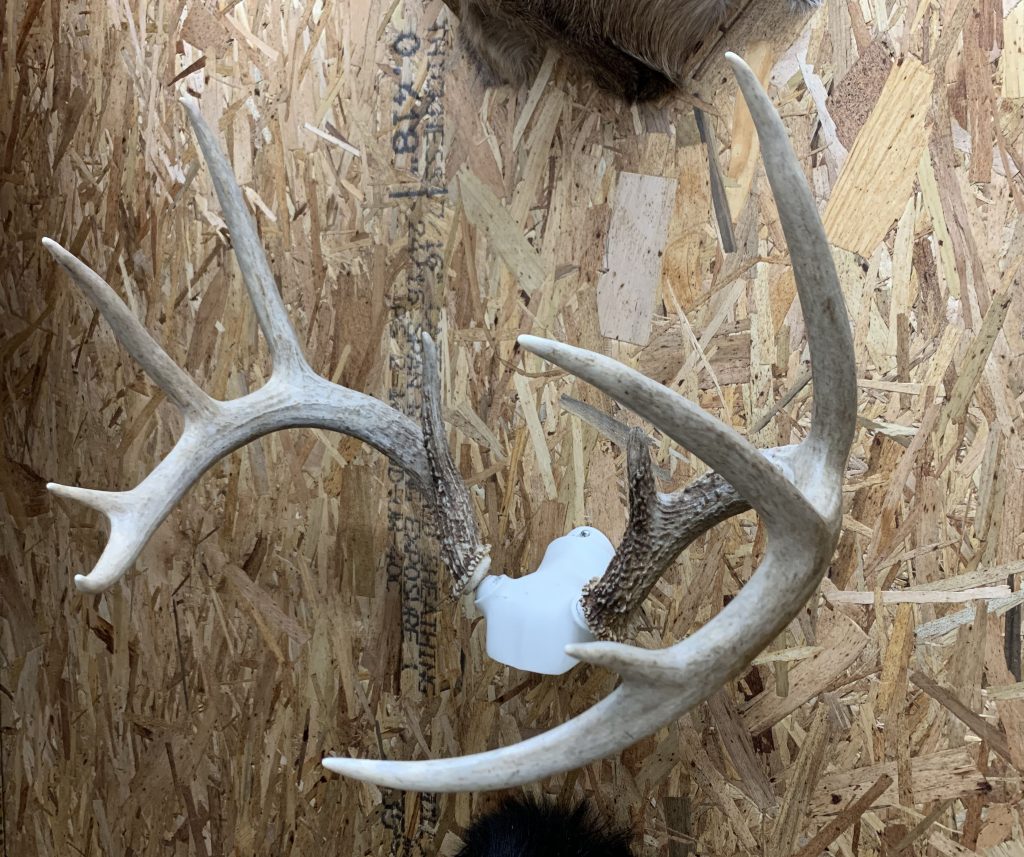
The best part about The Change Up is the adjustability. Once you’ve installed the antler pegs into the base of the antler, they’re ready to mount onto the base plate. Simply slide the antler pegs into the mounting plate and adjust the angle and width to your liking. You can take a buck that’s 10 inches wide and make it 17 inches wide real quick!
Next, you’ll need a place to display your antlers. You can hang them on the wall with the supplied hardware or place them on the table. Large antlers may not balance on a table without screwing it into place. I chose to mount my antlers on the wall just like I would display a European mount.
Don’t forget that you can swap the antlers out as long as you purchase some additional antler pegs. This means you can keep the office or man cave looking fresh as shed seasons come and go, only displaying the largest antlers or newest antlers of your collection. Removing the antler pegs isn’t easy, but it’s possible. I would just leave the antler pegs installed and purchase new ones so they don’t wear out and you run the risk of them coming loose on while on display.
Once installed and secured to the wall, my set-up was rock solid. The antlers were firmly secured within the base plate and the base plate was firmly secured to the wall. Now, I wouldn’t recommend doing pull-ups from it but I have the utmost confidence that they’re not going to move after mounting it.
Is The Change Up and Substitute for Taxidermy Mounts?
The Change Up may be the most affordable way to display your trophy. I utilized it to display shed antlers but you could also use it to display cut-offs from a deer you’ve killed. Instead of paying over-priced taxidermy rates, you could saw the antlers off below the base and attach them to the base plate for only $40!
A European mount will run you upwards of $150 or more, making The Change Up one of the most affordable taxidermy options on the market. However, I’m a firm believer in investing the money for quality taxidermy work and I would prefer to keep the skull intact and utilize The Change Up for shed antlers or old deadheads that need a fresh look.
Big8 Products “The Change Up” Review Summary
The Change Up from Big8 Products is a must-have for anyone that has deer antlers laying around. I’ve got totes full of shed antlers and it’s a rarity that I find a quality matching set of sheds, but when I do, I want to show them off just like my taxidermy mounts. Shed antlers don’t come easy in my neck of the woods and The Change Up allows me to display them with pride.
Installation was quick and easy and I can swap out the antlers on the base at any time as long as I have a couple of extra pegs. These can be purchased directly from Big8 Products for only a few bucks. I’ve also got a few old skull caps of bucks that I killed when I was younger that I would like to display and The Change Up is the perfect solution. I strongly recommend this product to anyone that’s looking to spice up their man cave and show off those sheds and deadheads that are collecting dust.
PROS:
CONS:
Ready to buy? Follow this link to pick one up directly from Wicked North Gear. Use the coupon code: HGD20 at checkout to save 20% at checkout!
This is an unpaid gear review. Thank you to Big 8 Products for providing a sample unit. Hunting Gear Deals is funded by affiliate commissions. We may receive a small commission when you buy from our partners using the links provided. There is no additional cost to you. Thanks for supporting us by using our links when making your purchases.

AUTHOR BIO
Camron is the owner of Hunting Gear Deals. I’m an avid bowhunter with a knack for finding smoking deals on hunting gear. Currently, I work in the oil & gas industry as an Environmental, Health, and Safety professional but my goal is to bring you the best deals on hunting gear each and every day!
Instagram- @huntinggeardeals