There’s no arguing that trail cameras have completely changed the way we scout and hunt whitetails. Technology has drastically evolved since trail cameras first hit the market, utilizing 35mm film, to today’s high-tech live feed cellular trail cameras. I was just getting into hunting on my own with the 35mm cameras hit the market, and I had to have one. This was the first glimpse into knowing what was in the wood when I wasn’t there. The image quality was poor, and the trigger speed was slow, but manually flipping through freshly printed photos was a joy like any other. It wasn’t long until digital trail cameras hit the market and the old-school 35mm cameras were a thing of the past.
The days of 35mm film and simple infrared cameras with blurry nighttime images and unreliable battery life are gone. Today, hunters have access to cellular cameras, AI image recognition, GPS theft protection, and solar panel power options, all tools that can give you an edge while scouting big bucks in unfamiliar terrain. The advancements in trail camera technology often go unnoticed, so let’s dive into it for a bit. Technology has certainly improved over the years, and here are a few trail camera features that you can utilize to improve your trail camera strategy
If you’re serious about improving your public land bowhunting strategy, here’s how to effectively use trail cameras in 2025 and beyond.
1. Use Cellular Trail Cameras to Minimize Intrusion
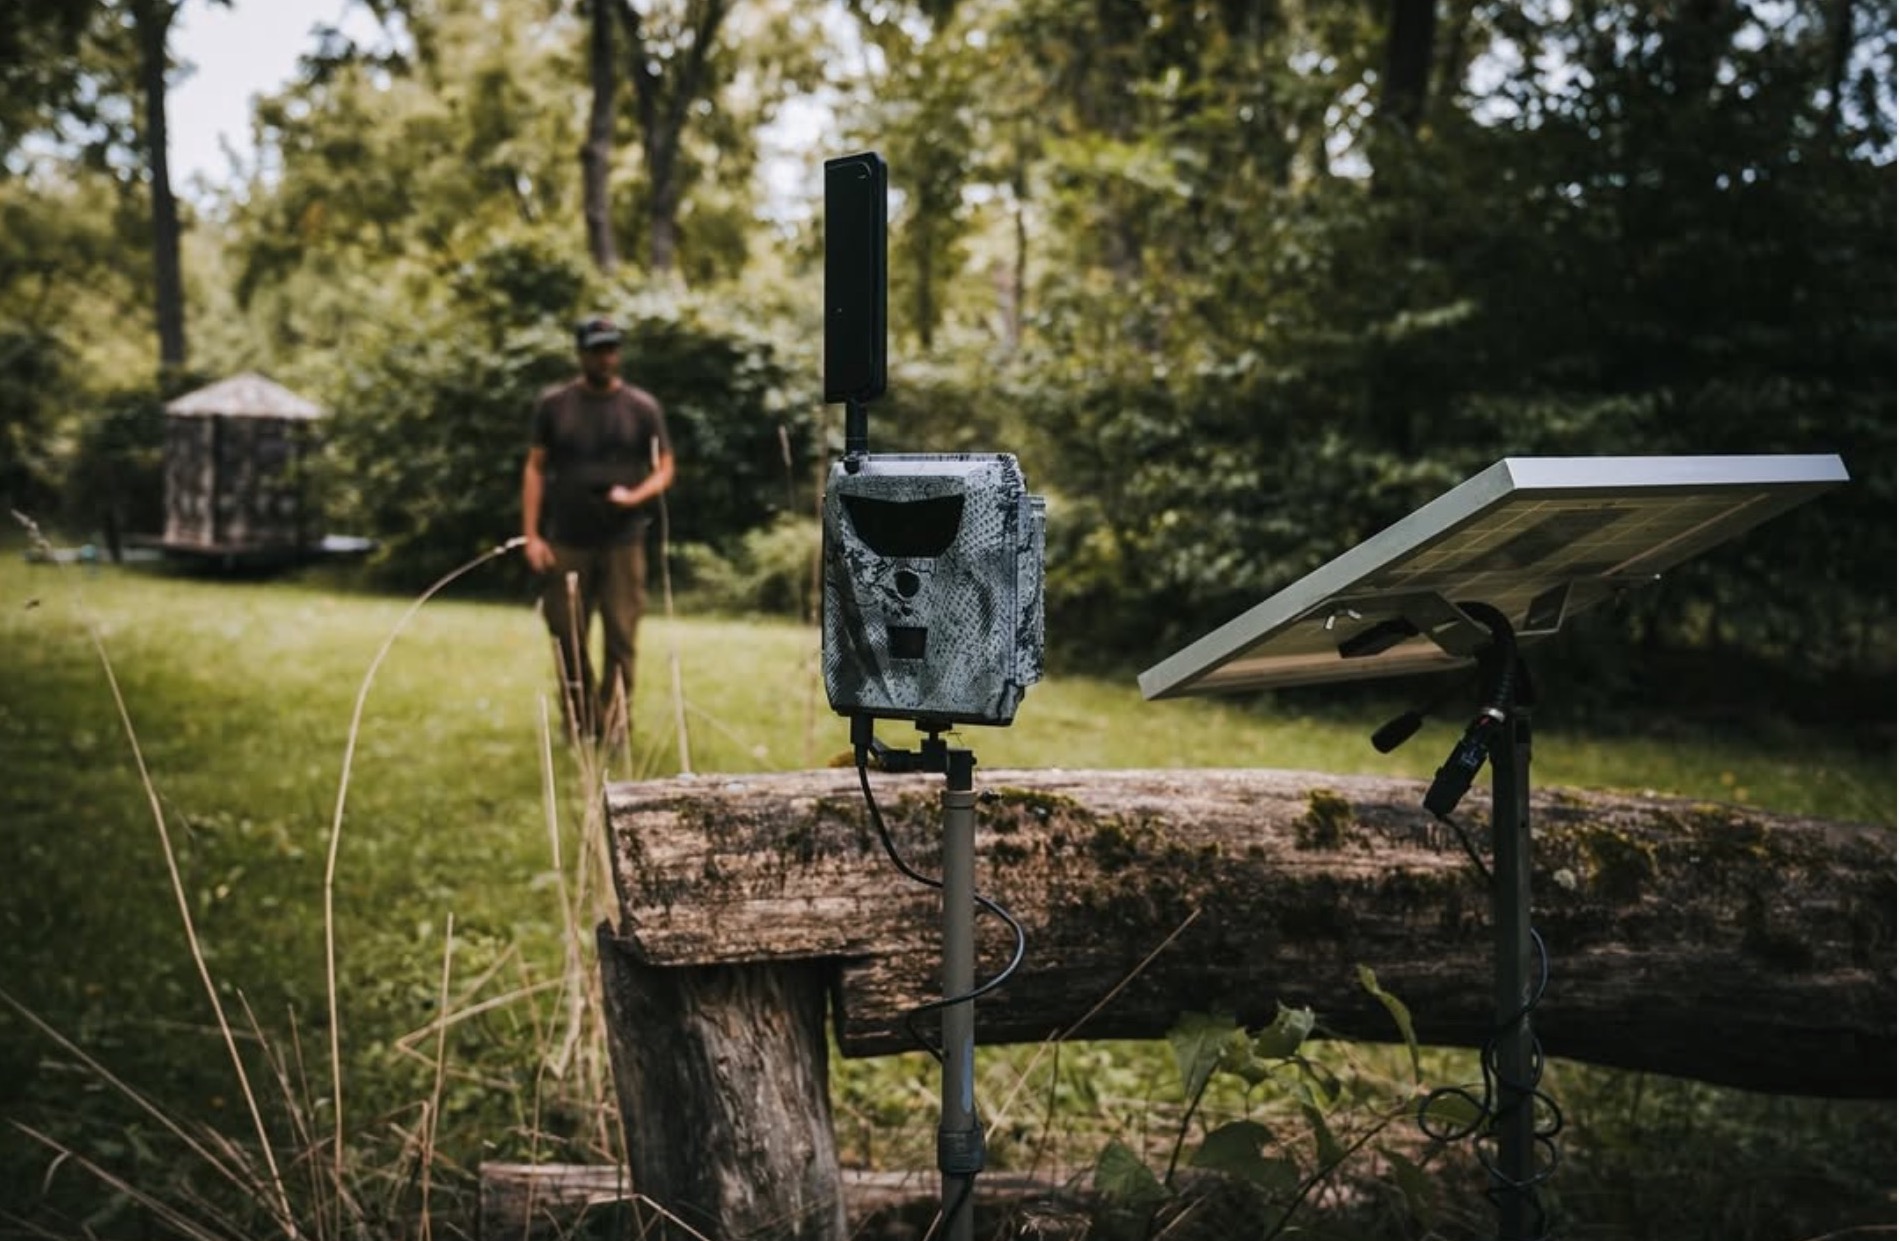
It should come to no surprise that our first key feature is the utilization of cellular technology in the whitetail woods. Knowing what’s in front of your trail camera just minutes ago is a great way to keep you excited and informed for upcoming hunts. On pressured public ground, minimizing human scent and disturbance is critical, and utilizing cellular trail cameras kees you out of the woods until its’ time to hunt!
Cellular trail cameras like the Spartan GoCam 2, Tactacam Reveal X 3.0, and Moultrie Mobile Edge Pro send photos and videos directly to your phone. In fact, the use of cellular trail cameras probably doesn’t come as a big surprise to you, as I’ve been using them to my advantage for years. Most quality cellular trail cameras support multiple carriers, helping you find just the right service provider to stay connected. However, you do have to have cellular reception in order for them to work.
Benefits of Cellular Trail Cameras:
-
No need to walk into check SD cards.
-
Reduces ground scent around bedding or travel corridors.
-
Real-time intel on buck movement patterns.
Pro Tip: Use cell cams on scrapes, funnels, or staging areas near food sources. Let the data dictate when and where to strike.
“Cell cameras allow me to hunt smart, stay out of bedding areas, and only make a move when conditions are perfect,” says Aaron Warbritton from The Hunting Public.
2. GPS-Enabled Cameras Help Recover Stolen Cameras
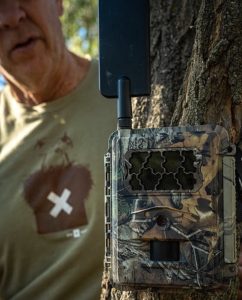
Theft has always been a concern for public land hunters running trail cameras. In recent years, the GPS technology in my Tactacam Reveal cell cams has allowed me to recover two stolen trail cameras from private property. I was able to locate the cellular trail camera through the map on the m0bile application and paid the thief a visit. People are shocked when you can tell them the exact room in the house where the camera is hidden. So far, I have been able to recover two stolen cell cams thanks to the GPS feature.
Today, several camera models include built-in GPS technology. Even if the camera is stolen or turned off, GPS location pinging allows you to track its last known coordinates. Another way that it’s helped is by reminding me of where the trail camera was left during the previous season. I’m bad for leaving trail cameras, blinds, or treestand in the woods after season, and the GPS locator is a good reminder of where I left it!
Popular GPS-Enabled Trail Cameras:
- Spartan GoLive 2
- Reconyx HyperFire 2 Cellular with GPS upgrade
- Spypoint Flex G-36
- Tactacam Reveal X 3.0
Quick Tip: Register and activate GPS tracking features through the camera’s mobile app as soon as you deploy the camera. This helps with the warranty and ensures you’re utilizing the feature in the event that you need it!
3. Choose Concealment Over Convenience
Public land means high foot traffic from other hunters, hikers, and occasionally, trespassers with sticky fingers. Placing your camera out of eyesight is your first line of defense to prevent theft and even damage from bears. Bears are huge issue for me where I hunt, so placing them two climbing sticks high is a great way to get them out of the eyesight.
Best Practices for Concealing Cameras:
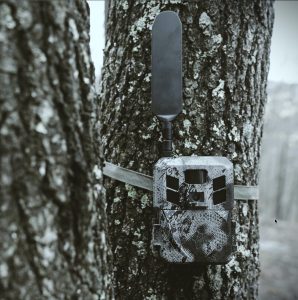
- Mount cameras high (8–10 feet up) angled downward.
- Use locks!
- Use camo-wrapped lock boxes or python cables.
- Avoid placing cameras on main access trails or close to parking areas.
Advanced Tip: Some hunters now bury cameras slightly or mount them low in thick cover for “eye-level deer shots.” This reduces human visibility but still captures great buck pics. If bears are an issue, this won’t work!
4. Use AI Image Recognition for Faster Filtering
Scrolling through thousands of squirrel and raccoon pics wastes precious time. Especially if you have your trail camera placed over a corn pile. You might wake up to hundreds of new photos each night. Newer cellular trail camera apps like Spartan Camera Management, Moultrie Mobile, and Tactacam Reveal offer AI-based image tagging. Implementing this into your feed can eliminate unwanted images from taking up your time. The camera will still trigger, but you won’t get stuck with tons of wasted photos.
How AI Trail Cam Apps Help:
-
Automatically tag images with “buck,” “doe,” “turkey,” or “vehicle.”
-
Allows fast search and filter for target animals.
-
Saves time
- Keeps you from missing a big buck photo
Example: How Moultrie Mobile Categorize Bucks
The app analyzes each image or video for key physical characteristics, such as: antler size, body mass, and other distinguishing features. It then uses a vast database of deer images, and the app compares these characteristics, identifying the age and maturity of each buck. The app automatically tags the image or video with the appropriate classification—young buck, mature buck, or fawn.
5. Mobile Mapping Integration (OnX, HuntStand, Spartan)**
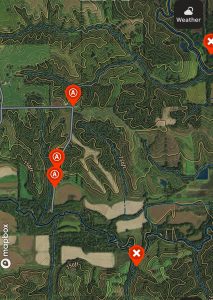
Gone are the days of manually marking scrape trees or bedding areas on a paper map. If OnX charged me by how many waypoints, tracks, and usage, I’d need a third job to pay the bill. I utilize my OnX Hunt app every single day. I use it for work, hunting, and travel. Heck, with Apple Car Play, I can even use it in my F-150 Tremor as I’m driving down the road.
Modern Workflow:
-
Place your trail camera.
-
Immediately drop a waypoint in OnX Hunt, HuntStand, or Spartan’s app.
-
Use photo-tagging features to tie images to exact map locations.
-
Layer on wind, thermals, property boundaries, and access routes.
This data-stacking method helps you visualize buck travel corridors across entire properties.
6. Don’t Overlook Non-Cell Cameras for Deep, No-Service Locations
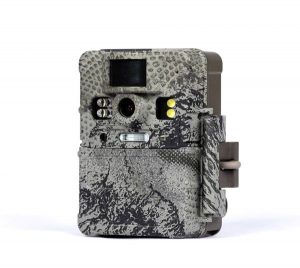
Not all great hunting spots have a cell signal. For deep-woods or off-grid locations, a traditional SD-card camera like the Spartan Camera Lumen still has value. This might be one of the biggest things that I see new hunters miss, and it’s a no-brainer for someone who’s been using trail cameras for decades. I have an arsenal of non-ceullar trail cameras that are deep in the hollow, hidden deep in the timber, or just in convenient to check locations. If you think you don’t need them, you’re crazy. Put a non-cellular trail camera on the tree beside a cellular trail camera and see just how many more photos of deer you’ve been missing.
It’s no secret that cellular trail cameras miss photos of deer walking by from time to time because it takes time for the camera to take the photo, send it, and deliver it through the cellular provider. Whereas non-cellular trail cameras store each image on an SD card, and they just keep on taking photos. The difference in photos taken will blow your mind!
Best Practices for Non-Cell Cams:
-
Place them where you can check quickly without blowing out an entire section of timber.
-
Use high-capacity SD cards (32–64GB) and lithium batteries for longer life.
-
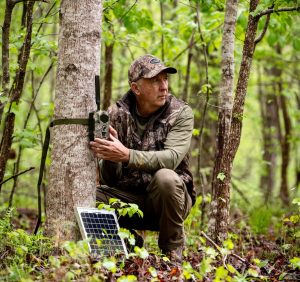
Combine with external battery packs or solar panels for extended deployments.
- Let them soak! One of the best tips I can give you is to let your trail cameras sit out the entire season and check them after the season. I do this in new places that I’m interested in learning about, but not necessarily ready to hunt it. You’ll be amazed how much you’ll learn after the season, when you can slow down and go through each photo one at a time. Paying attention to peak movement dates and conditions to better prepare for next season.
7. Strategic Camera Placement: Where to Hang and Why
On short DIY hunts, you can’t afford trial and error. Place cameras where intel will help you make fast decisions. If it’s legal, I’ll cast out a bunch of cameras at the start of the hunt and check them often. I only have a short window to find a target buck. On local properties, I’ll run cameras on food sources, mineral sites, scrapes, field edges, and pinch points at various times of the season. This information requires a whole other blog post.
Best Public Land Trail Cam Locations:
-
Primary scrapes during late October.
-
Pinch points and funnels during the rut.
-
Edge of bedding areas (approach carefully, hang high and quiet).
-
Remote water sources in drought years.
-
Access trails leading from remote thickets to food sources.
- Field edges
Pro Tip: Always think, “Where is this camera giving me a killable daylight opportunity?” If the answer is “nowhere,” move the camera. You should be using these trail cameras as an educational tool, not just for entertainment.
8. Set Your Cameras for High Frequency or Video Mode
Bucks cruising during daylight may only trigger a camera once during their pass. A buck following behind a doe may go unnoticed as well. You can utilize a multi-shot mode to capture additional photos from the initial trigger response. During the summer, I’ll use a 2-shot multi-shot with a 30-second delay on minerals, and a 1-shot 30-second delay on bait. During the season, I’ll use a slow 3-shot 30-second delay so it’ll take photos of trailing bucks. Cellular trail cameras struggle in this scenario, and this is why you need non-cellular SD card cameras. Videos are fun too, but they take a long time to scroll through. Many cameras offer a hybrid mode where it’ll take an image and a video, making it easier to scroll through months of photos at a time, only watching the videos that are needed.
Video mode is a must on scrapes, though. There’s nothing better than watching a buck work a scrape!
Advanced Settings Tips:
-
Use short trigger delays (5–15 seconds) in travel corridors.
-
Use photo burst mode (3-5 photos per trigger) for faster shot sequence.
-
On scrapes, try short video mode (10–30 seconds) to capture buck behavior like lip curling and aggressive posturing.
9. Monitor Wind and Access Before Pulling SD Cards
Checking cameras can kill your hunt if you blow your scent across bedding areas or cross prime trails. In fact, don’t check cameras just to be checking them. I try to only pull cameras if I can access them with an ATV or it’s during the hunt on the way to the stand. Unfortunately, this isn’t possible for every scenario or practical situation. So, pay close attention and only check them when the conditions are correct.
Best Practices:
-
Check cams midday when deer movement is low.
-
Only pull SD cards when the wind won’t contaminate bedding cover.
-
Use scent-free gloves and minimize ground disturbance. (This will also help in areas where bears are common)
- Checking trail cameras at night can help too. Deep into the night, not just after dark.
10. Learn from Your Camera Data—Not Just Photos
Most hunters scroll for antlers and ignore the data. Don’t make that mistake. Trail cameras are an educational tool that will teach those willing to learn. Letting cameras soak for long periods of time is a great start. But pay close attention to the dates and times in when activity increased. Utilize websites like Wunderground to look at historical weather data to predict when you should hunt that spot next year. By analyzing this data, you’ll improve stand placement and timing—both this trip and on future hunts.
What to log:
-
Time stamps on buck daylight activity.
-
Wind direction during buck movement (use historical weather apps like Weather Underground).
-
Date patterns around weather fronts.
-
Which scrapes or trails are getting the most consistent action.
Final Thoughts
Trail cameras have become more than scouting tools—they’re now data-collecting, patterning, decision-making weapons for the DIY public land hunter.
By embracing modern camera technology, using cell cams smartly, deploying GPS-enabled security features, and learning from your data patterns, you’ll scout smarter, pressure deer less, and dramatically improve your chances of success.
In the world of public land bowhunting, information is power—and trail cameras are the best information-gathering tool you have.
Hunting Gear Deals is funded by affiliate commissions. We may receive a small commission when you buy from our partners using the links provided. There is no additional cost to you. Thanks for supporting us by using our links when making your purchases.