There’s nothing quite like sitting on the edge of a staging area in early September, bow in hand, sweat on your brow, waiting for a velvet-clad buck to step into range. You’ve scouted and found fresh sign, such as a rubline connecting bedding to feeding, or a small patch of white oaks just inside the timber of your favorite food plot. Deer staging areas can produce some of the most thrilling opportunities of the whitetail season—and one of the most overlooked. If you’re not hunting staging areas early in the year, especially if you’re targeting mature bucks, you’re missing out on one of the best patterns available before the rut.
As a lifelong deer hunter and gear reviewer for HuntingGearDeals.com, I’ve spent countless hours watching bucks hang up in staging areas just out of bow range, learning the hard way that mature deer often don’t make it all the way to the food plot or soybean field before dark. The good news is that if you understand what staging areas are and how deer use them, you can intercept bucks during daylight and improve your odds on opening day and the weeks that follow. Sometimes, it takes years to learn a large property and how deer use that property throughout the year.
Picture this: it’s opening day, your trail cameras show a big, mature buck frequenting your stand location. It’s early season, and everything you’ve been taught about deer hunting during this part of the season tells you that you have to stay out of the timber during this time of the year. However, a few hunts into the season, and your buck hasn’t shown up during the daylight. Your trail cameras reveal his presence just after dark, only minutes from last shooting light each day. You know he’s close, but you’ve yet to lay eyes on him in your bait pile or food plot.
Where could he be? Chances are he’s staged up just a short distance into the timber and waiting for the cover of darkness before stepping into the field.
Featured Image: Jake Belinda – The Void Hunt
What Is a Deer Staging Area?
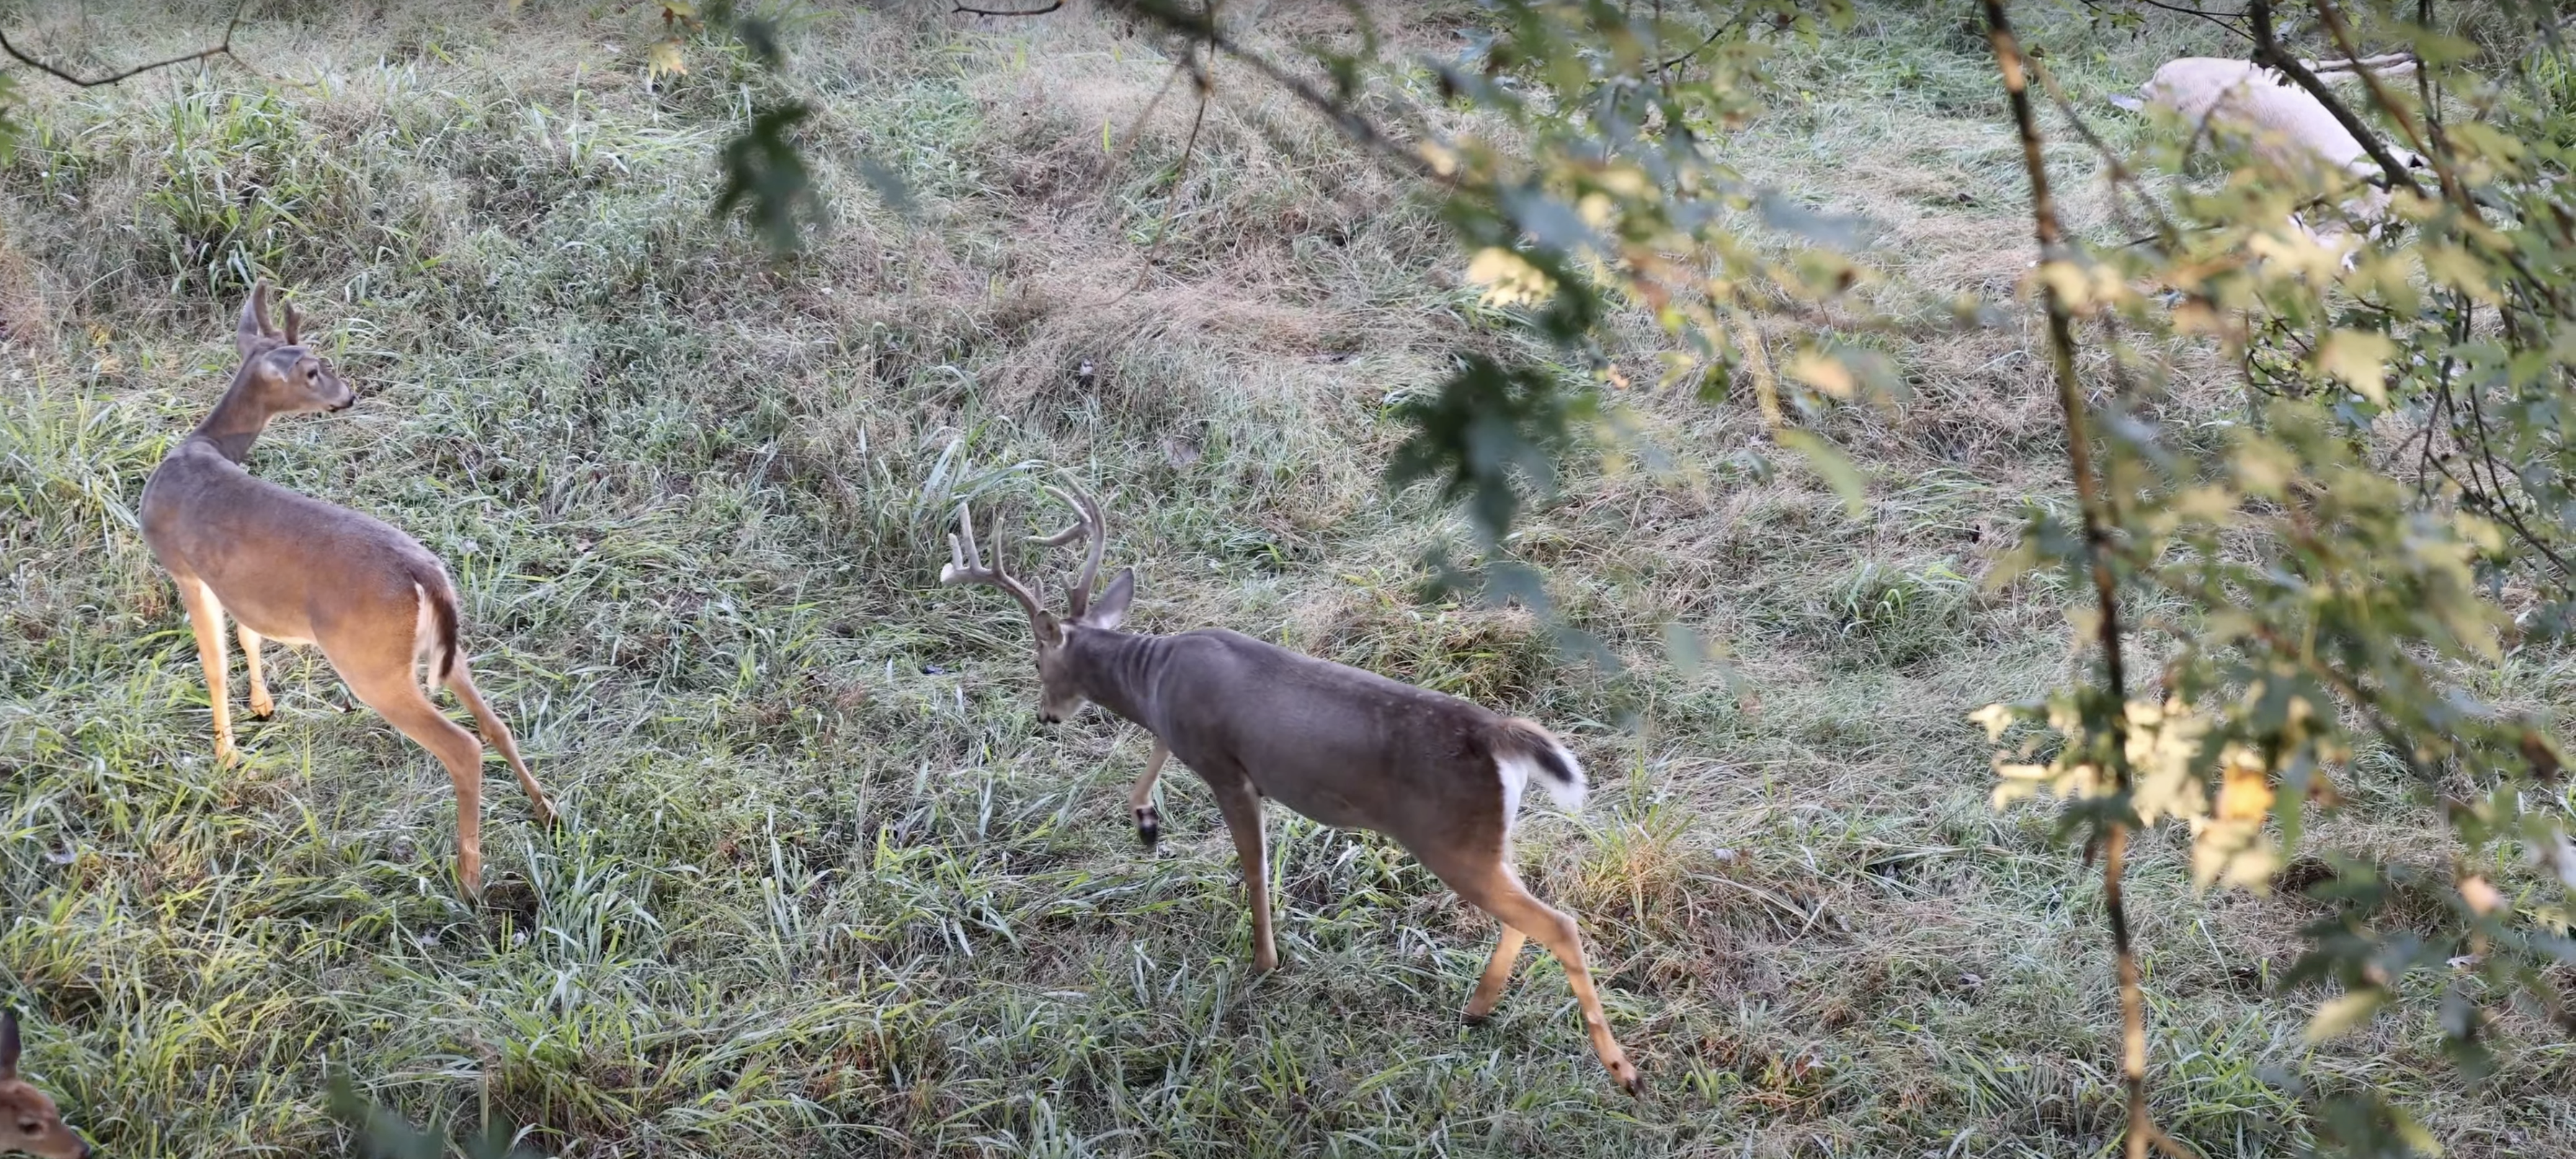
A staging area is a transition zone where deer pause between their bedding and their primary food source. It’s typically located 50 to 150 yards off the edge of a destination food source, such as food plots, bait piles, or ag fields, often in thick cover. Think of it as a whitetail waiting room: deer hang back here, browsing, checking the wind, and observing before stepping out into the open.
Staging areas are used year-round, but they’re especially valuable during the early season when bucks are still on bed-to-feed patterns. Mature bucks will often stage in these spots with the rest of their bachelor group before feeding in the open. And when velvet comes off and bachelor groups break up, bucks still tend to use staging areas to check for danger before exposing themselves.
Staging areas are simply areas in cover where deer feel safe and can get the upper hand on would-be predators (including hunters). From here, they’ll wind-check the field, feed, scrape, rub, and do other deer-related activities before making sure it’s safe to come any closer. Food sources are often more dangerous locations for whitetails, and they use these staging areas to make sure they’re not stepping into a dangerous situation.
Why Staging Areas Matter in the Early Season
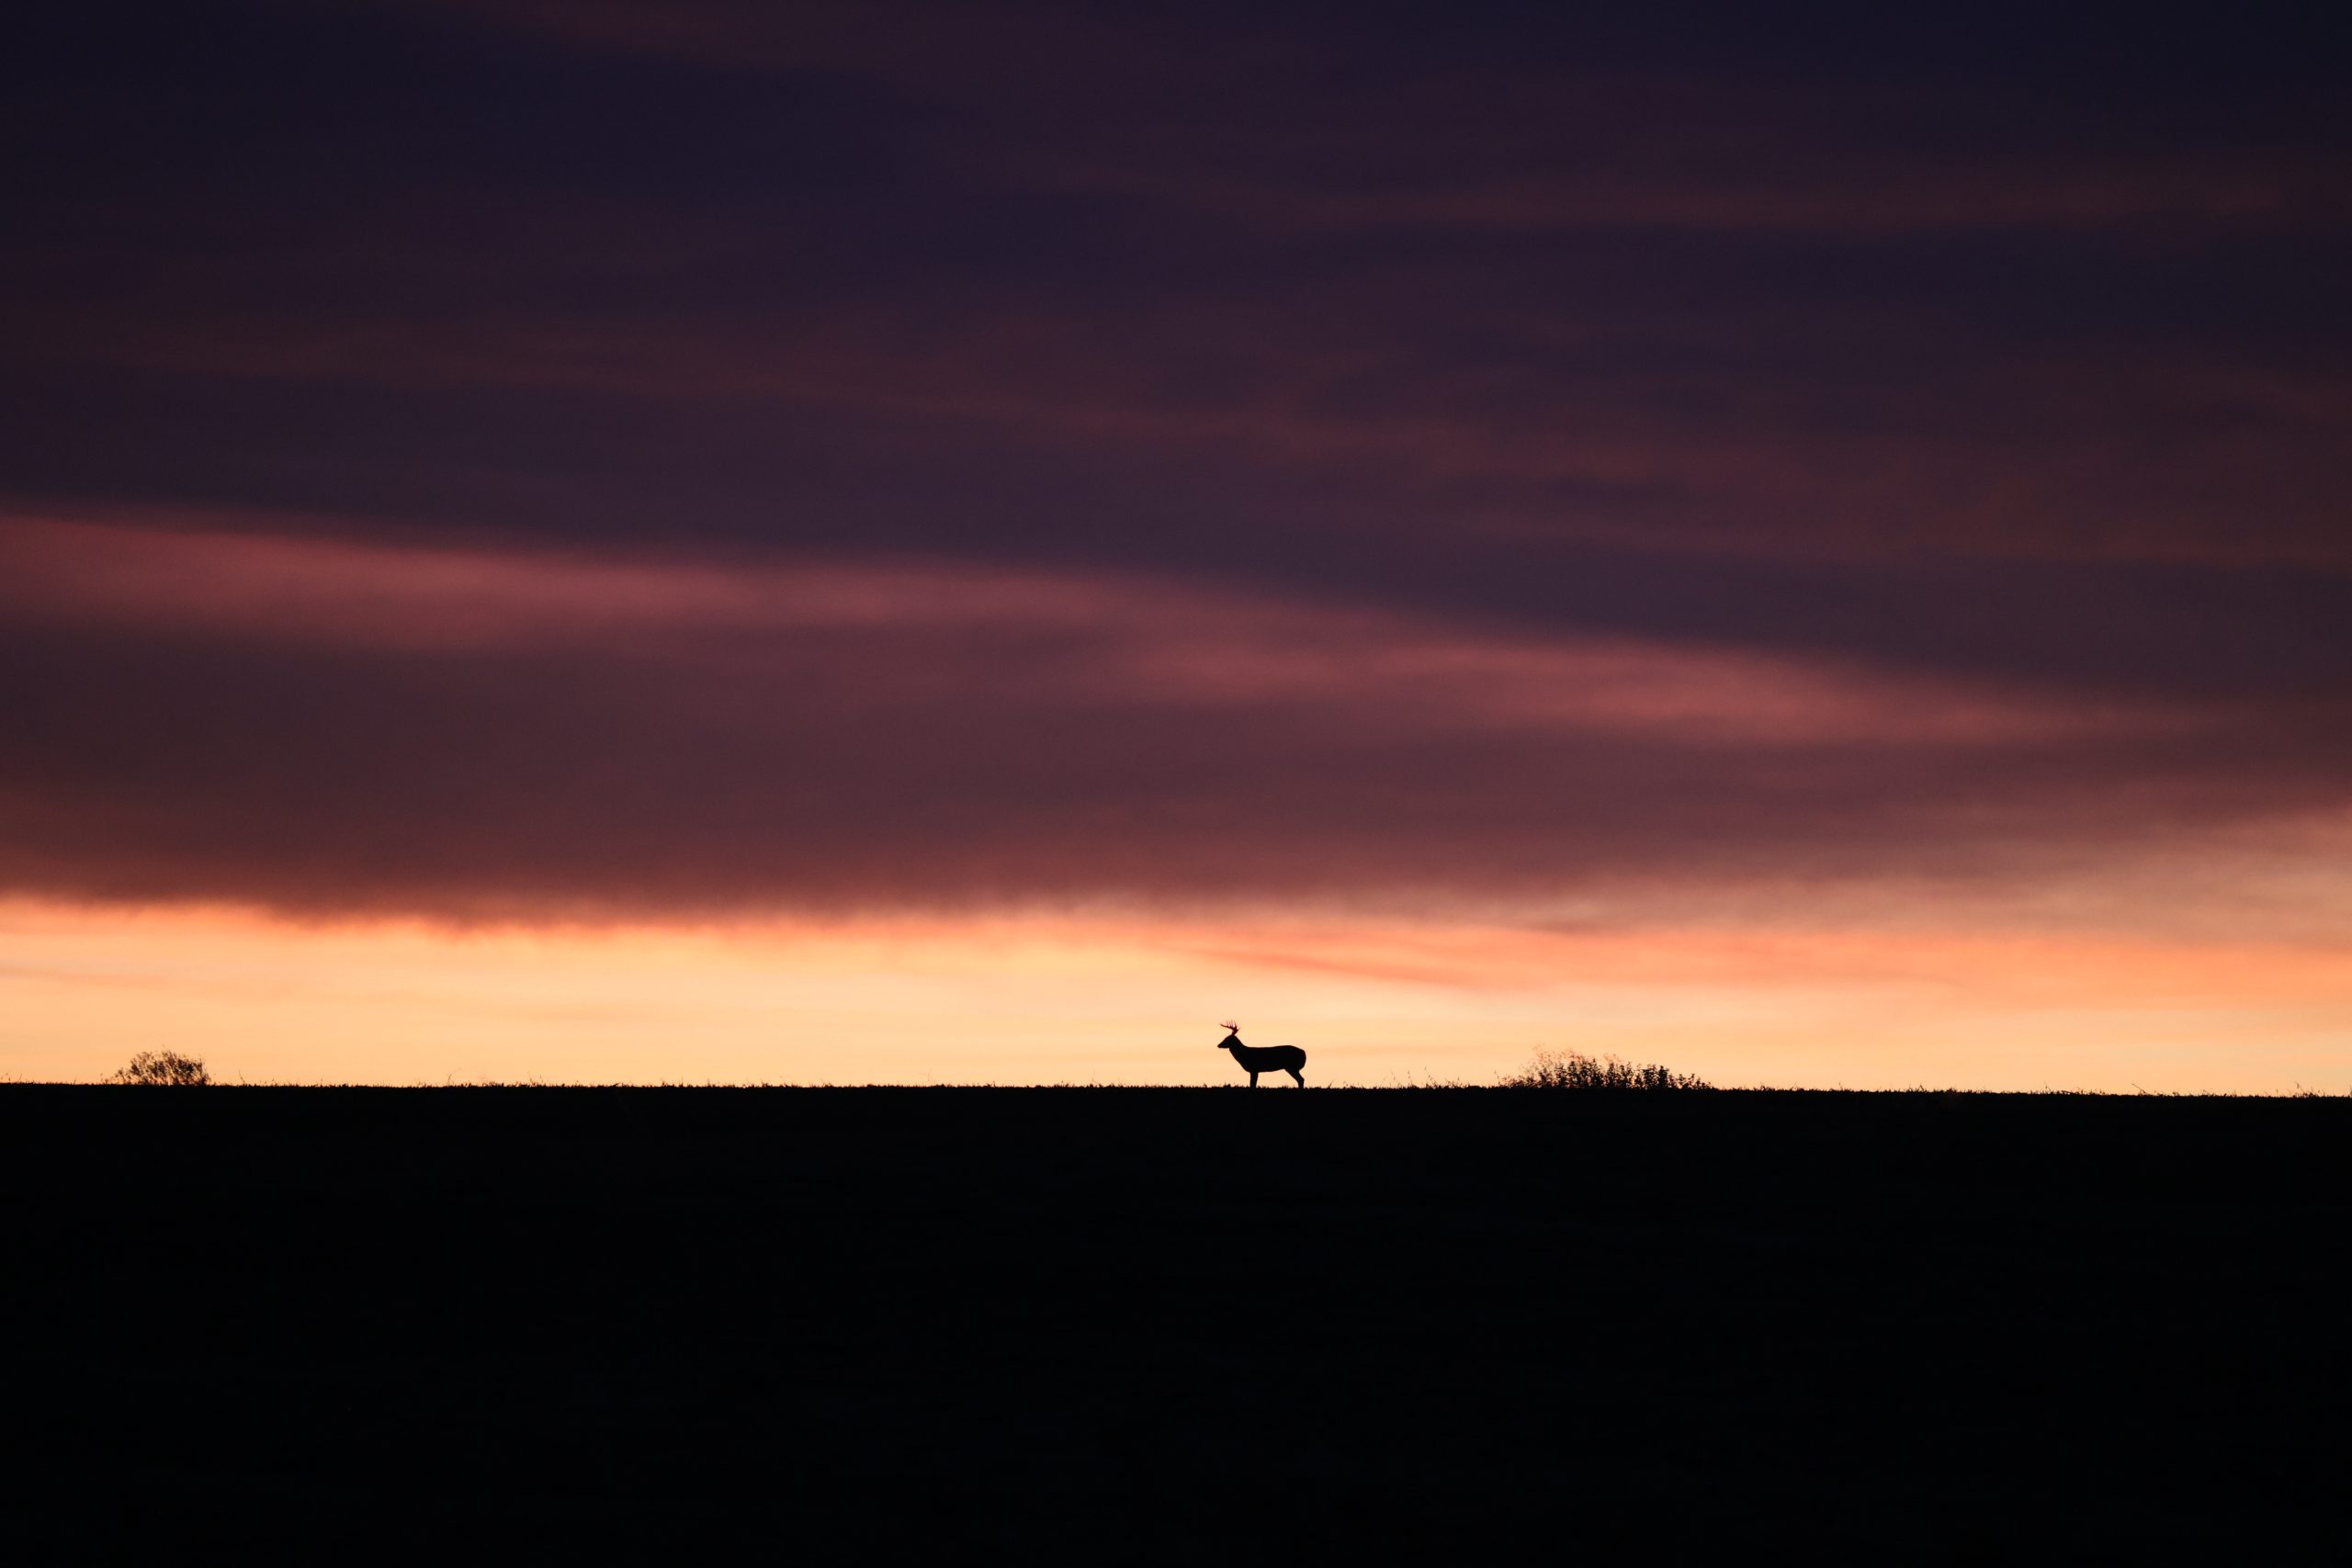
Early season bucks are still somewhat patternable. They’re focused on food, not does, and their movements are more predictable than they will be later in the fall. However, mature bucks don’t like daylight. Even in September, they may not reach the food source before last light.
That’s where staging areas come into play. These zones allow bucks to linger in cover while keeping tabs on what’s happening in the open. If your stand is on the field edge, you may watch your target buck hang back in the staging area, just out of range. Hunting these spots can put you in a position to catch a buck 10 to 20 minutes earlier, while he’s still comfortable in his element.
Ten minutes might not seem like much, but for a deer hunter, it’s everything. This may be the difference in legal shooting light!
Unlike the rut, where bucks are constantly on the move and hard to predict, early-season staging areas provide consistency. If you’ve got trail cam photos showing a buck showing up 15 minutes after legal light, he’s probably staging nearby. Move in just a little deeper, and you might catch him before dark. Here’s an example of a deer staging area and how I’ve used it to my advantage through the years.
Step one, I found the primary food source during the summer months. This area of West Virginia offers no fields or food plots, so typically it’s natural browse for the majority of the season. However, I figured out through trial and error that deer love kudzu. It’s an invasive species, but it’s very nutritious and unfortunately quite common in this area. The deer sign in this area is ridiculous during the summer months.
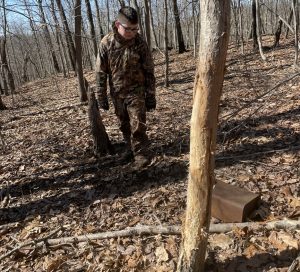
Step 2 was to figure out how the deer were accessing this natural food plot. I simply followed the sign into the timber. Deer trails, scrapes, and rubs littered the area. Here, I settled on a treestand location and spruced up the spot with a mock scrape. Trail camera data proved my hypothesis correctly and I filmed my buddy shoot his first Pope and Young buck from the stand on opening weekend.
How to Find Deer Staging Areas
Finding a productive staging area isn’t always easy, but there are consistent clues to look for:
1. Use Digital Scouting Tools
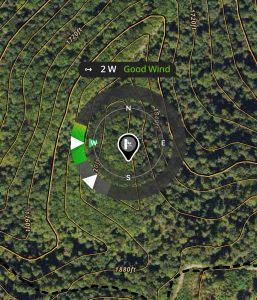
Start by looking at satellite imagery using OnX Hunt, HuntStand, or Google Earth. Trace the likely travel corridor between bedding cover and food sources. Look for edge habitat, small clearings, benches, inside corners, or soft transitions. These subtle terrain features often serve as staging areas. Sometimes we think deer are walking randomly through the woods or a field, but they have a reason, and it’s your job to figure out why they walk the trail and when to expect them.
2. Look for Deer Sign Close to Food
Scout the transition zone between bedding and food for rubs, scrapes, fresh droppings, and faint trails. If you find a cluster of rubs 75 yards off the field edge, you’ve likely found a staging area. However, sometimes it’s not as evident. If deer approach from every direction, then you might have more trouble. The buck I killed in Ohio during 2024 entered the field differently than any other deer. I never did figure him out, but I did manage to seal the deal on him during the late season.
3. Use Trail Cameras Wisely
Hang cameras just off the field edge, where deer often appear right after dark. If bucks are consistently nocturnal there, backtrack closer to bedding to catch them in daylight. Use video mode or photo burst to learn exactly how long they linger. Sometimes this takes a year or two to figure out because your human pressure will push deer to be more nocturnal, unfortunately. However, the best deer hunters that I know use this strategy to kill big bucks. My buddy Scottie killed a beautiful double-drop tine by using this strategy last season!
4. Glassing and Observation Sits
From a distance, glass food sources and note where bucks enter the field. Then, mark those trails and work backward. Where they pause in cover is your staging area. Remember the buck that I said I couldn’t figure out. Unfortunately, if I could have seen him enter the field, I might’ve had more success earlier. However, the way my field lies, it doesn’t make it easy for me to do that without pressuring deer in the process. However, there are plenty of fields that I glass from a distance that make it much easier, especially if I can stay in the truck and bring the family along with me!
5. Staging Plots and Mock Scrapes
Creating your own staging area is also an option. Small micro plots (less than 1 acre) planted in clover or brassicas can act as natural staging zones. Add a mock scrape and licking branch to further entice deer to stop. Food plots might not be feasible for everyone, but mock scrapes are perfect (where legal). In fact, you should have a mock scrape at each of your treestand locations no matter what time of season you plan to hunt it. They’re that important.
Stand Setup for Staging Area Hunts
Once you’ve identified a staging area, it’s time to hunt it smart. Here are a few strategies to help you master the art of hunting deer staging areas.
1. Stand Location and Height
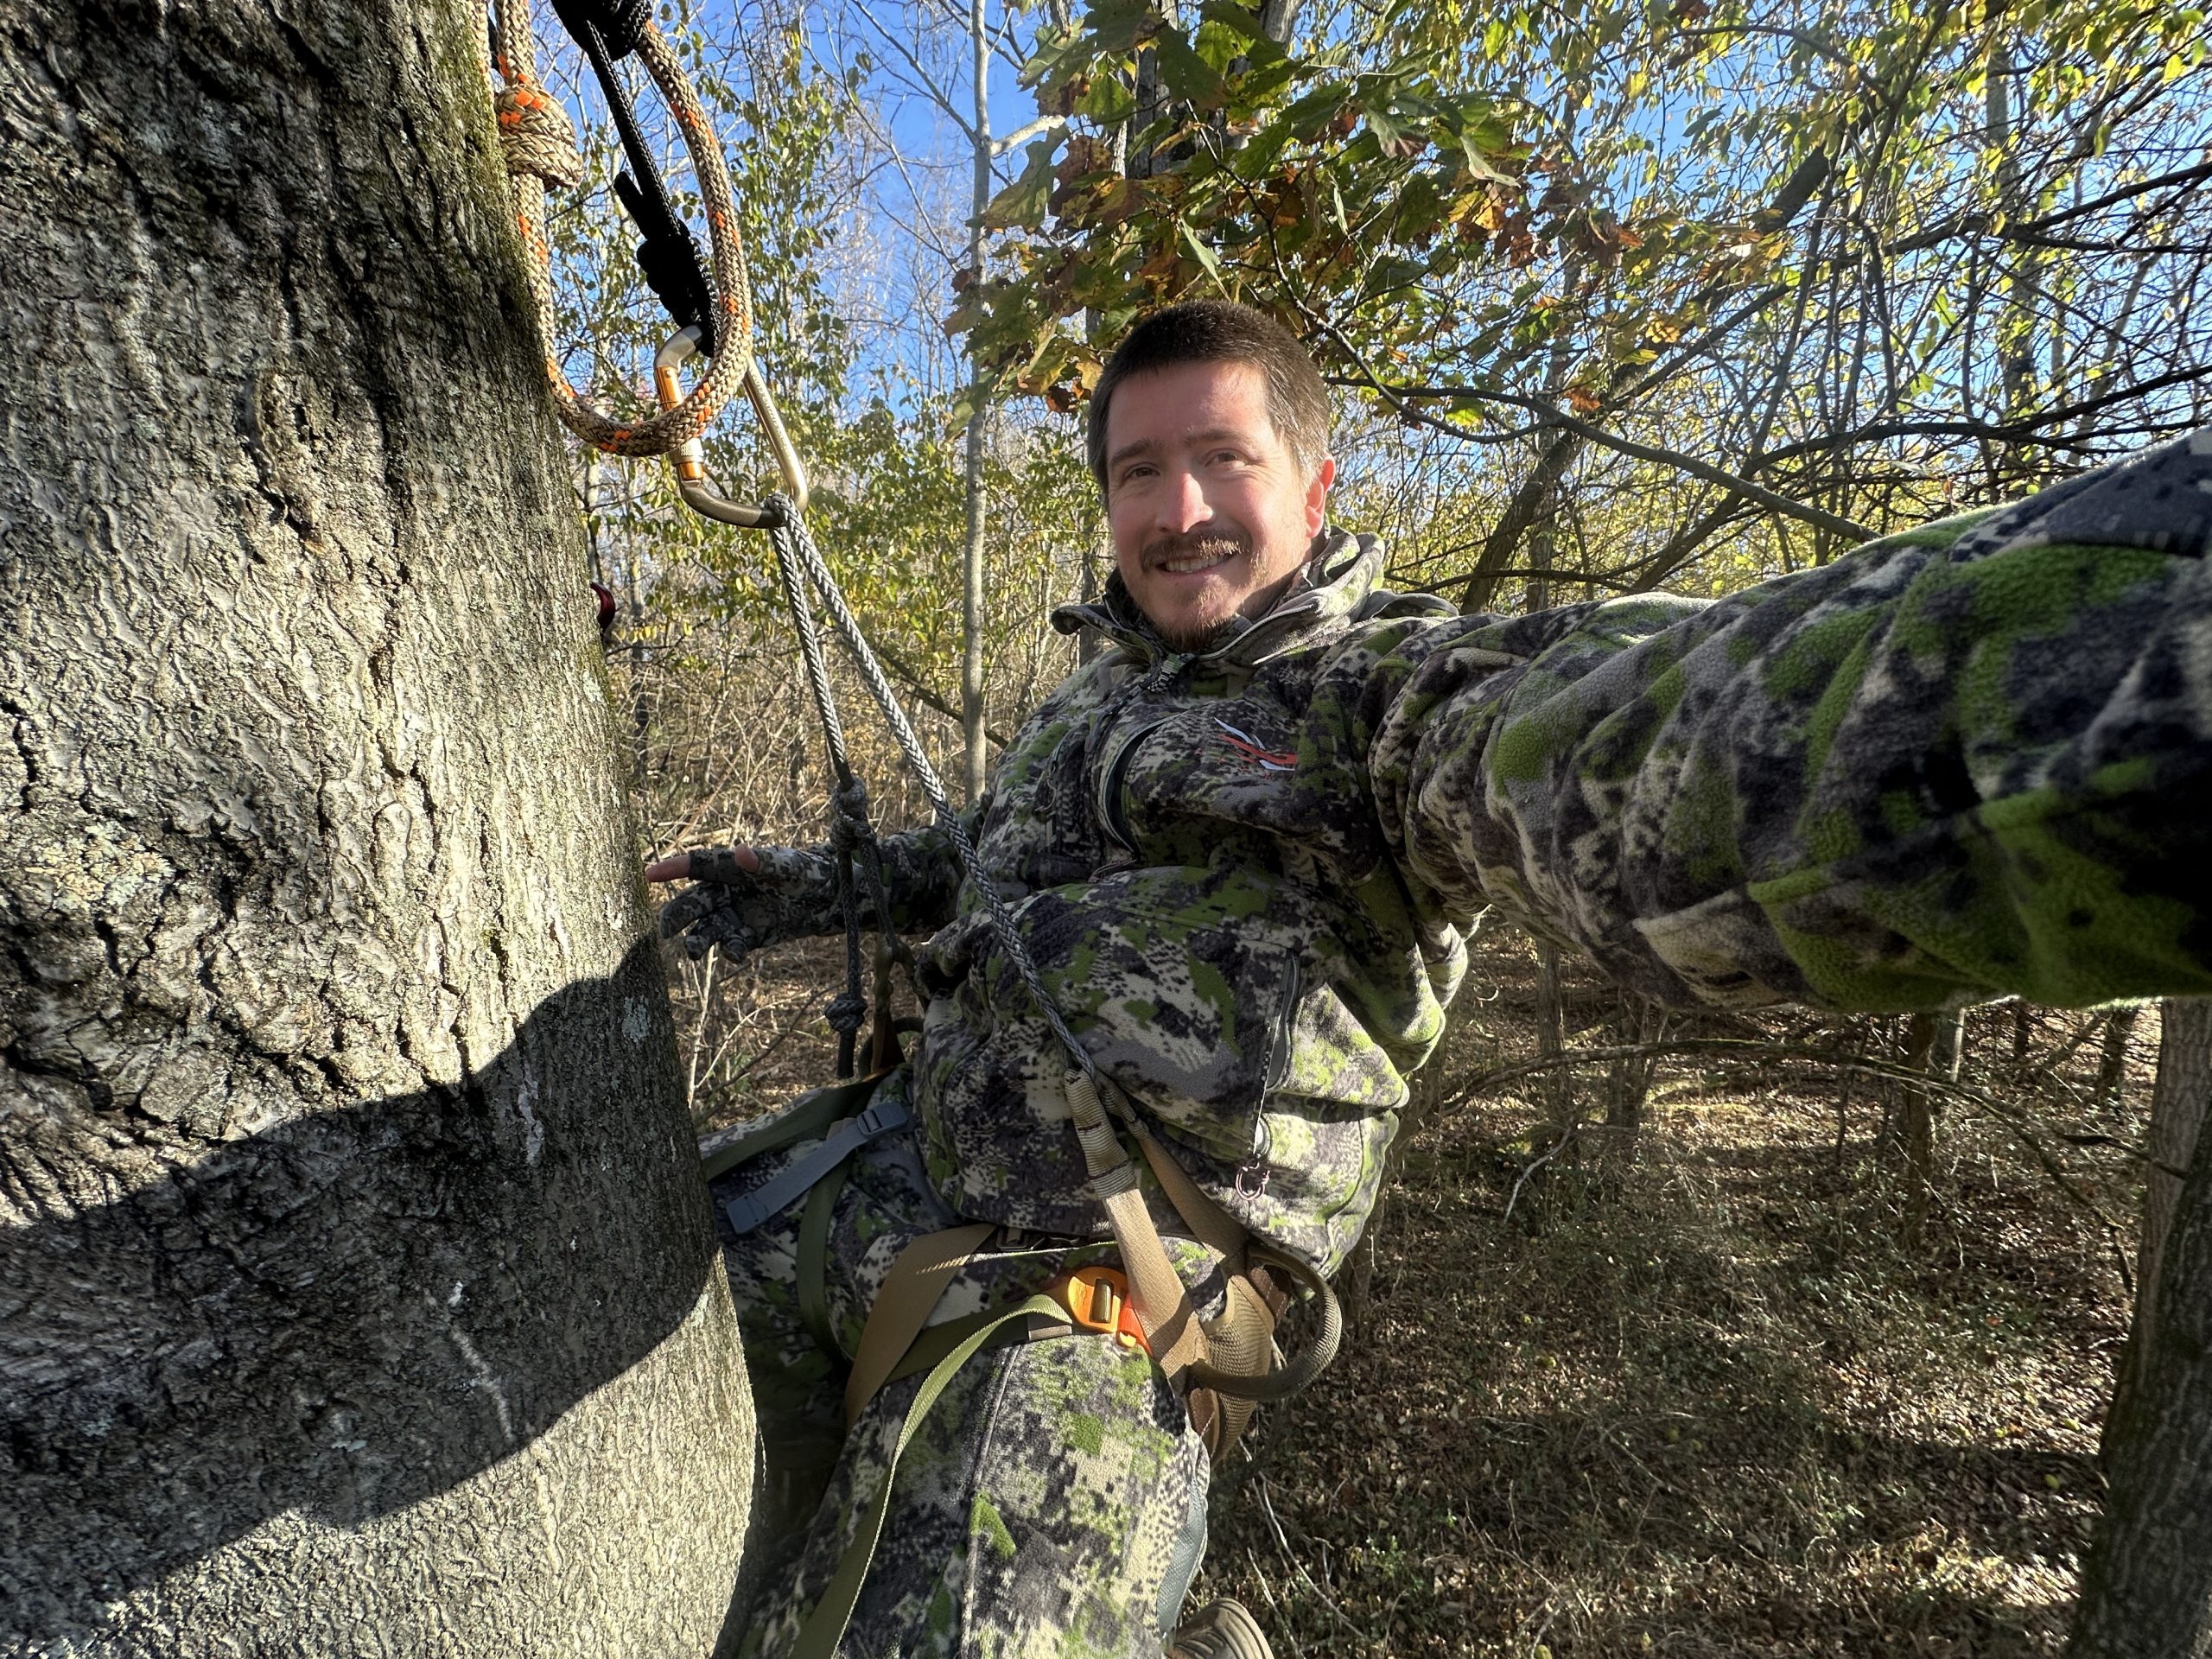
Hang your stand just inside the cover, 15–20 yards off a trail or opening. You want to be close enough for a shot, but far enough from the food source that you’re not spooking deer as they stage. Get as high as you can safely go (20–25 feet) to stay out of sight. Make sure you wear a harness. Cover shouldn’t be an issue during this time of year, as the foliage is full in most areas of the country.
2. Play the Wind and Thermals
Staging areas are often downwind of food sources because deer use them to scent-check the field before entering. Set up with the wind in your face and consider thermals, especially if you’re near a ridge or creek bottom. This is the most important step. If you can master hunting thermals, you can do anything.
3. Use a Mobile Setup
Saddles or lightweight hang-and-hunt setups shine here. If the wind shifts or deer start using a different trail, you can easily adapt. Be flexible and don’t overcommit to a single tree. Saddle hunting should be part of everyone’s arsenal. Also, it’s good to have presets in place on private property, whether it be sticks and a treestand or just climbing sticks. Even when hunting from a saddle!
4. Timing Your Hunts
Evening sits are best for staging areas. Bucks leave their beds and stage before entering food sources. Mornings are trickier and risk bumping deer. To be honest, I never hunt mornings during the early season. to prevent pressuring and bumping deer. It’s tough to sneak in close to deer during this time of the year as pressured deer will often leave a primary food source before it gets daylight and head back to bedding as it starts to get daylight. Hunt staging areas during a cold front, right before a weather shift, or in the first few days of the season for the best shot at daylight movement.
Advanced Tips for Targeting Mature Bucks
- Look for Secondary Trails: Mature bucks often use trails that parallel the main ones. These are harder to spot as they’re not has worn down into the first floor and may be 20–50 yards off the main trail. Scout for faint trails with big tracks. Big tracks reveal all the secrets, so look for wet spots in the trail or creek/ditch crossings.
- Avoid Overhunting: The appeal of a staging area hunt is strong, but don’t burn it out. One or two high-odds sits are better than five average ones. I can’t overstate this enough. Hunt when the buck is killable! If you need to spend the day in a tree, go grind on some public instead of messing up our best properties or spots.
- Use Decoys and Calling Sparingly: A grunt call or decoy might pull a buck those last few yards, but be subtle. Early-season bucks are cautious and unpressured—don’t give them a reason to act differently. I recall getting rid of an old Tinks’ 69 Estrous spray can during the early season when setting up a new camera. The small point produced three bucks that evening! I had never used it that early in the season, but it brought those bucks into range and they stuck around all evening.
- Control Your Scent: Scent control is critical in staging areas where deer pause, linger, and analyze the wind. You have read the article linked to fully understand what it means to have a solid scent control regimen.
Common Mistakes to Avoid
- Ignoring the Wind: Even in low-pressure areas, one wrong wind can ruin a spot. Don’t forget changing thermals just at last light.
- Overchecking Cameras: Frequent visits = educated deer. If I can’t drive to the camera, I won’t bother checking it. I drive an ATV, truck, or an ebike to reduce odor.
- Forgetting the Exit Plan: Getting out clean is just as important as getting in. This is often more important than getting to the stand without getting busted.
Final Thoughts
Early season staging areas are gold mines if you know how to find and hunt them. Bucks are still moving on patterns, and they’re most vulnerable in those quiet, tucked-away transition zones. Whether you’re after a velvet Kentucky bruiser or a hard-horned Ohio 8-point, staging areas could be the secret to your early-season success.
Put in the work before season, scout smart, play the wind, and don’t hesitate to adjust your setup. Staging area hunting is about precision and patience—but when it all comes together, it just might produce your best buck of the season. You only have a few weeks in most states to take advantage of this information, so put it to good use.
Got questions or tips about staging areas? Leave a comment or shoot me an email—I’d love to hear your success stories!
Hunting Gear Deals is funded by affiliate commissions. We may receive a small commission when you buy from our partners using the links provided. There is no additional cost to you. Thanks for supporting us by using our links when making your purchases.